


Have you ever wanted to create your own iOS App? If so, then this article is for you! We’ll be taking a look at the essential steps in the iOS App Development process, and what it takes to bring your app to life. Plus, we’ll be digging into the advantages of choosing iOS as your development platform. So what are you waiting for? Let’s get started!
Introduction to iOS App Development
iOS app development can be a great way to create your own app. With so many different ways to develop an app, it can be difficult to know where to start. This guide will take you through the process of creating an iOS app step-by-step, from initial concept to App Store submission.
Creating an iOS app starts with an idea. You need to come up with something that people will want to use and that will fill a need or solve a problem. Once you have your idea, you need to validate it by talking to potential users and seeing if they would actually use your app.
Once you have a validated idea, it’s time to start building your app. You’ll need to choose the right tools and technologies for the job and put together a team of developers who can turn your vision into reality. The actual process of developing an iOS app can vary depending on your approach, but there are some key milestones that every project needs to hit: design, development, testing, and launch.
Overview of the iOS App Development Process
The iOS app development process is a multi-step process that involves the following steps: ideation, planning, design, development, testing, and launch.
Ideation is the first step in the iOS app development process. This is where you come up with the idea for your app. It’s important to have a clear idea of what you want your app to do before moving on to the next step.
Planning is the second step in the iOS app development process. This is where you determine how you will execute your app idea. You need to consider things like your target audience, what features your app will have, and how you will monetize your app.
Design is the third step in the iOS app development process. This is where you create the visual look of your app. You need to consider things like colors, fonts, and layout when designing your app.
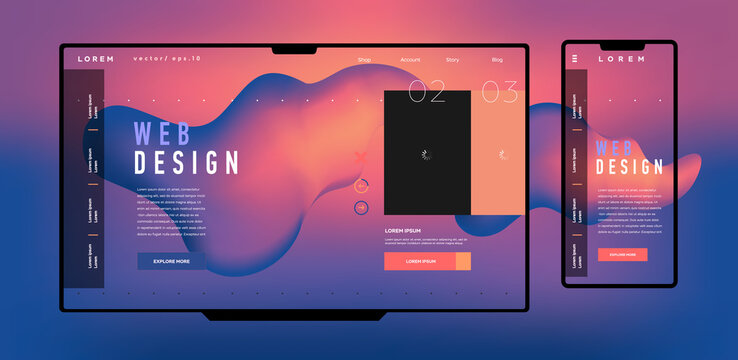
The Design Phase
Designing an app can be a daunting task, but with a little planning and some creativity, it can be a fun and rewarding experience. Here are a few tips to get you started on the design phase of your iOS app development project:
1. Define the purpose of your app. What do you want it to do? Who is your target audience? Answering these questions will help you determine the overall look and feel of your app.
2. Sketch out your ideas. Don’t worry about making them perfect, just get your ideas down on paper (or in a digital format). This will help you communicate your vision to your team and get feedback early on in the process.
3. Create wireframes for each screen of your app. A wireframe is a low-fidelity representation of how each screen will look and function. This step will help you flesh out the details of your app’s user interface and ensure that all the elements work together seamlessly.
The Development Phase
Now that you have an idea for your app, it’s time to start developing it. This is where the hard work really begins.
For the coding part, you will need to learn Objective-C or Swift, the programming languages used to develop iOS apps. If you’re not a programmer, don’t worry – there are plenty of resources out there to help you learn. Once you’ve learned the basics, it’s time to start coding your app and make an app like Dpboss Matka to learn iOS development code.
The design part is just as important as the coding part. Your app needs to look good if you want people to use it. Luckily, there are many great resources available to help you with app design, including templates and tutorials.
The Testing Phase
After you’ve designed and coded your app, it’s time to test it out. This is where you’ll find any bugs or glitches and make sure everything is working properly.
To do this, you can use the iOS Simulator that comes with Xcode. This will allow you to test your app on a variety of different iPhone and iPad models. You can also use TestFlight, which is a service that allows you to beta test your app with up to 100 testers.
Once you’ve tested your app and made sure it’s ready for launch, it’s time to submit it to the App Store!
Launching Your App
Assuming you have already developed your iOS app and are now ready to launch it, there are a few things you need to do first.
1. Choose the right platform: There are two main platforms for launching an iOS app – the App Store or TestFlight. If your app is complete and ready for public release, then you will want to launch it on the App Store. However, if your app is still in development and you want to test it with a limited number of users first, then TestFlight is the better option.
2. Create App Store listings: In order to list your app on the App Store, you need to create a listing for it. This includes providing information such as the app name, description, keywords, category, pricing, etc. You can find more information on how to create an App Store listing here:
3. Submit your app for review: Once you have created your App Store listing, you can submit your app for review by Apple. Review times can vary depending on Apple’s current workload, but generally speaking, they usually take a few days to a week. You can track the status of your submission through iTunes Connect. More information on submitting
Best Practices for App Maintenance
Assuming you’ve already built your app and it’s available on the App Store, here are some best practices for keeping it up-to-date and running smoothly:
1. Regularly check for crashes and bugs using crash reporting tools like Crashlytics or HockeyApp. These tools will help you identify and fix issues quickly so that your users don’t experience any downtime.
2. Keep your app’s UI and UX up-to-date with the latest trends. This includes things like making sure your app is compatible with the latest iOS version and devices, as well as ensuring that your app’s design is in line with current design trends.
By following these best practices, you can be confident that your app will remain up-to-date and run smoothly for years to come!
Conclusion
Developing an iOS app can be an intimidating process, but with the right guidance and a bit of patience, you can create your own amazing apps that could potentially reach hundreds or even thousands of people.
Also Read: Ranking On Google: The Importance Of Your Website